Info Leonlite
11-08-2023
How to Set Up Low-Voltage Illumination on Your Deck

How to Set Up Low-Voltage Illumination on Your Deck
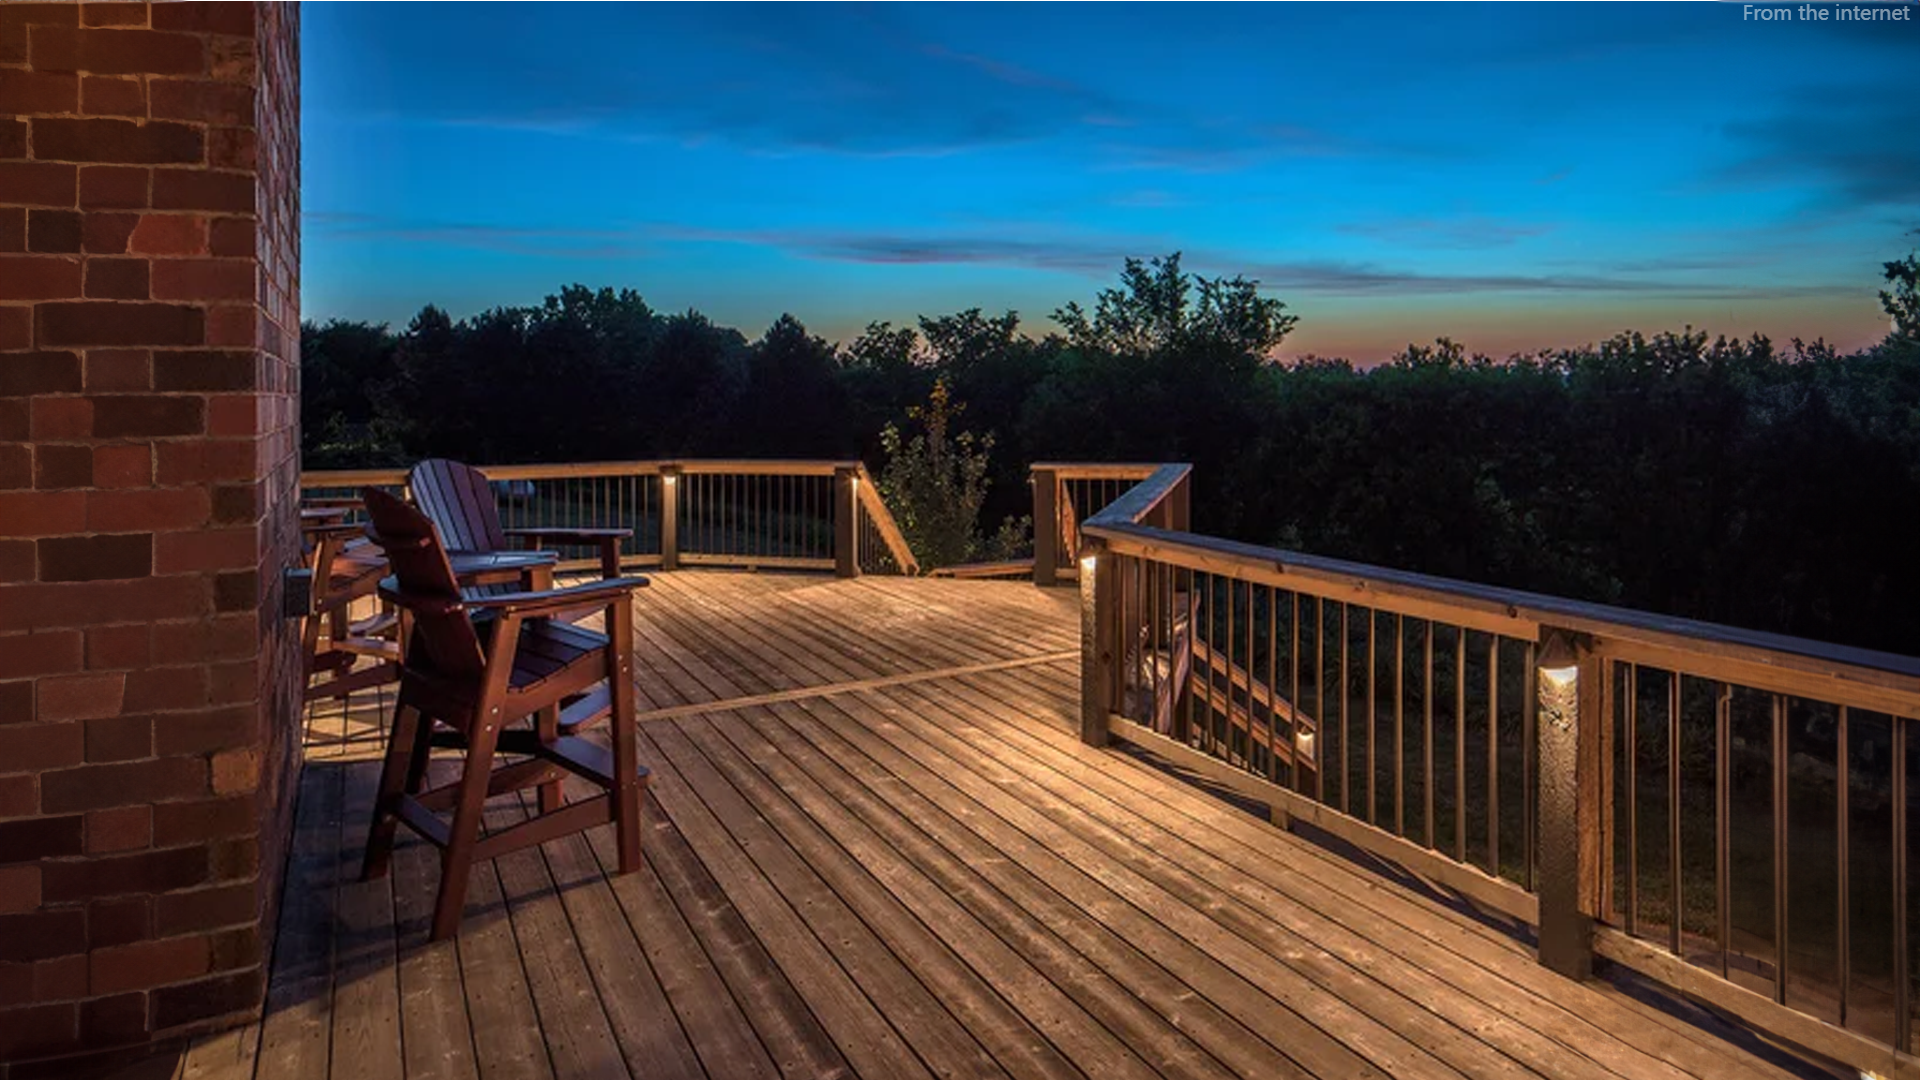
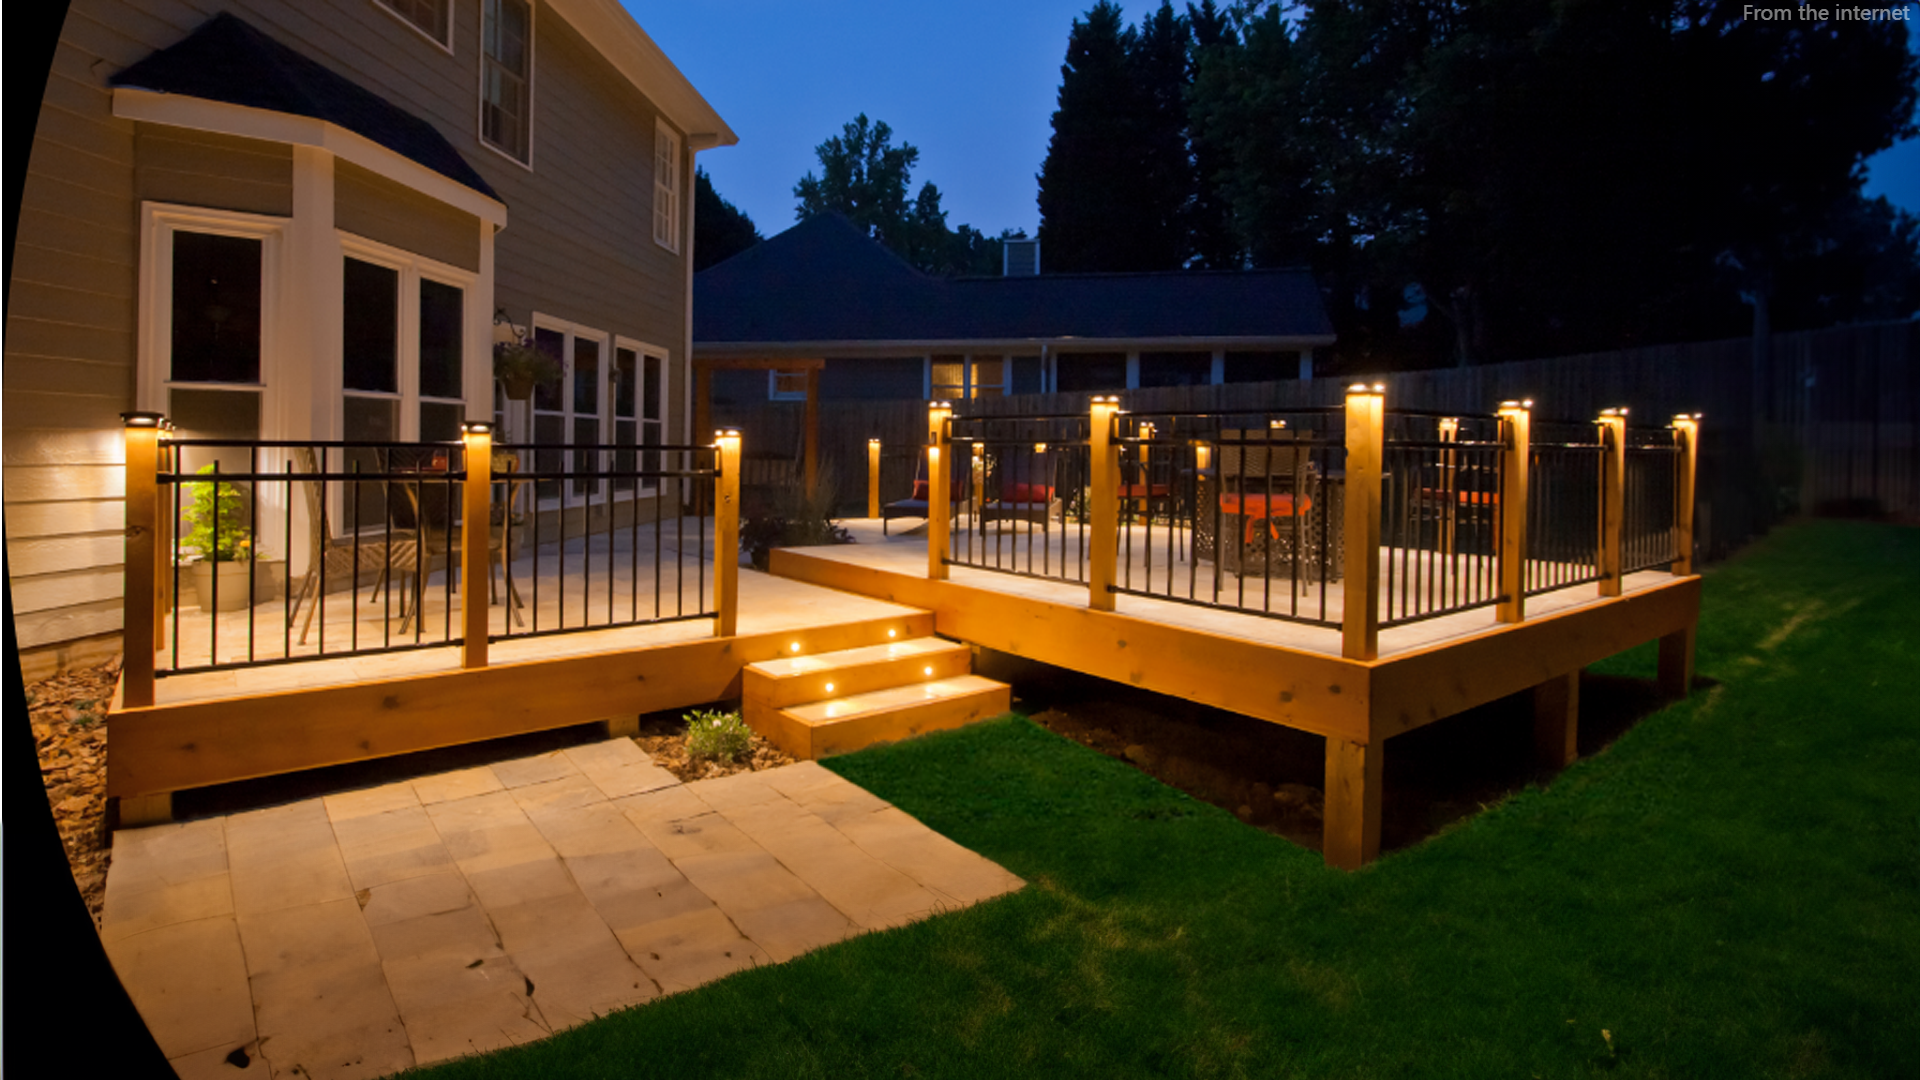
Elevate the allure and functionality of your deck with the addition of low-voltage lighting. Dive into our straightforward guide to get the hang of the installation process. The beauty of low-voltage deck lights? Typically, there's no need to bring in a professional electrician. The process mirrors that of setting up landscape illumination.
Your options abound: from diverse light posts and rail illuminations to lighting for stair risers. The majority of these deck lighting systems run on a 12-volt transformer, connected to a standard wall outlet safeguarded by a GFCI. For those seeking a no-fuss approach, self-powered solar lights are on offer, eliminating the need for intricate wiring or transformers. Prior to diving in, ensure you pore over the provided installation guide and touch base with your local building authority.
* Prices seem high? Could be multi-unit packs. Check your cart for details.
Table Of Content
- Crafting the Perfect Deck Lighting Strategy
- Mastering the Art of Transformer for Deck Lighting
- The Nuances of Deck Lighting Wiring
- Guarding Your Lighting Connections from the Elements
- CONCLUDING THOUGHTS
Crafting the Perfect Deck Lighting Strategy
Lighting can be transformative, and with a deck, it's no different. The brilliance lies in the details, starting with the optimal positioning of your lights to cast just the right glow on essential spots. Before diving deep into the world of low-voltage deck lighting, having a well-thought-out game plan is crucial.
First and foremost, map out the AC power socket locations, which will serve as the connection point for your transformers. Equipped with that knowledge, you can then get a clearer sense of the wire length you'll need to illuminate your space and ascertain the number of transformers that will power your vision.
As you forge ahead, ponder the varied luminous intensities you're looking to achieve. Some nooks of your deck might yearn for a muted, soothing aura, while others might demand a brighter touch for practical or aesthetic purposes.
A pro tip for those eager to get it just right: It wouldn't hurt to get a few lighting fixtures ahead of time for a trial run. Position them temporarily on your deck or even your yard, letting you gauge their luminosity firsthand. Immerse yourself in that environment, spending a good 5 to 10 minutes, which allows your eyes to adapt, ensuring you hit the right note when the final setup comes to life.

Mastering the Art of Transformer for Deck Lighting
For those diving into the realm of deck lighting, understanding the role of transformers is paramount. At the heart of most deck lighting systems lies a transformer, responsible for transitioning the standard 110-volt line voltage down to a manageable 12-volt low-voltage electric flow. Once you've plugged this transformer into your typical household outlet, it will smoothly distribute electricity to each light fixture in a looped pattern. And here's a neat feature: some transformers come equipped with timers or light sensors, enabling your lights to grace the night without manual intervention.
However, let's stress the importance of ensuring compatibility. While the majority of LEDs function optimally with 12-volt DC transformers, their incandescent counterparts typically lean towards the 12-volt AC variety. So, before investing, meticulously reviewing your light fixture's specifications is a must. Furthermore, ensure that the plug point you choose for the transformer boasts the protection of a Ground-Fault Circuit Interrupter (GFCI). Given the unpredictability of weather, strategically positioning both the GFCI and the transformer to avoid direct exposure to rain is wise. Rain's relentless assault can sometimes lead to shorts, putting your circuit breaker to the test.
Now, on to the pressing question: how do you pinpoint the ideal transformer size? The math isn't too tricky: multiply the count of lights by their wattage and then add an extra 10-15 percent to account for potential line loss. Let's say the result hovers around 200 watts; you'll want to lean towards the next size up when choosing a transformer. There's even a handy online tool – the Lighting Transformer Calculator – to assist you in determining both wattage and transformer quantity, ensuring you avoid the pitfalls of overloading. Overburdened transformers not only have shorter lifespans but can also negatively impact the performance of your fixtures.
A word to the wise: compatibility is king. Ensuring you're using the correct voltage for your lighting fixtures – be it AC or DC – is non-negotiable. Mixing them up not only jeopardizes the performance but might also render warranties null and void. A golden rule to abide by? Stay consistent, opting for the same brand across fixtures and transformers.

* Prices seem high? Could be multi-unit packs. Check your cart for details.
The Nuances of Deck Lighting Wiring
Diving into the world of deck lighting requires a keen understanding of wiring specifics. For low-voltage deck lighting setups, using the appropriate wiring is critical. While the popular choice for LEDs tends to be the 18/2 gauge wire, their incandescent counterparts often lean towards the 12/2 gauge wire. Furthermore, it's essential to ensure the wire's polarity aligns with your lights. Typical wiring often features a sleek black wire, paired with another exhibiting white markings. These need to be interconnected correctly, guaranteeing a functional connection. Naturally, consulting your lighting assembly guide will give you clarity on optimal wire types and dimensions.
But, how exactly should you proceed with wiring up your deck lighting? Think of it as setting up an interconnected network. Your lights will be linked using wire, meticulously tucked away in hollowed-out sections of the railing or discreetly beneath the deck. This not only makes for a cleaner aesthetic but also offers an added layer of protection. If your wiring navigates areas close to the ground, wrapping them in a protective sheath or conduit is advisable. This shields them from pesky critters that may find them tempting to nibble on. If you're looking into connecting rail lights from the side to the primary cable, tools akin to Aurora pigtail wires come in handy.
Remember, voltage drop due to line loss can be an issue over extensive lighting arrangements. This emphasizes the importance of thoughtfully positioning your transformer and lights, culminating in an effective low-voltage network. It's often recommended to set up your lighting in a looped circuit for peak performance. However, there's flexibility here, with options like straight-line, T, and split load installations offering alternative circuit designs. When dealing with LED lights, it's pivotal to wire them in parallel, steering clear of a series setup, all while ensuring consistent polarity across your lighting framework.

Guarding Your Lighting Connections from the Elements
Upon wrapping up the installation of your lighting fixtures, it's not uncommon to discover some residual female power connectors. Given their susceptibility to environmental wear, these idle splitter ports need immediate attention. The manufacturer often supplies plastic caps specifically for this purpose, ensuring these connectors remain shielded.
The potential of water seeping into these low-voltage connections is a crucial concern. These connections demand rigorous protection against the aggressive downpour of rain, the persistent seepage from melting snow, and any unintended water drips. For those connectors particularly at risk, encapsulating them with heat-shrink tubing offers an impeccable, waterproof solution. It's also worth noting that electrical tape, despite its apparent convenience, isn't a fit for this task. The adhesive grip of this tape stands no chance against the blistering summer temperatures, leading to untimely deterioration and loosening.
* Prices seem high? Could be multi-unit packs. Check your cart for details.
CONCLUDING THOUGHTS
Deck lighting can add both beauty and functionality to your outdoor space. Without needing professional electricians, homeowners can install low-voltage lights on their decks, akin to how landscape lights are set up. A range of lights such as post lights, rail lights, and stair riser lights are available. They typically run on a 12-volt transformer, plugged into a GFCI protected outlet. Alternatively, solar-powered lights need no wiring. It's crucial to plan the installation by marking out AC socket locations, measuring wiring lengths, and determining transformer needs. The desired ambiance should guide light level decisions. Transformers are vital for these systems, converting standard 110-volt electricity to 12-volt. Ensure you purchase the correct transformer based on the light fixture's specifications and remember, the transformer's outlet should be GFCI protected. Wiring should be suited to the light type, and the correct polarity maintained. Always hide and protect wiring for aesthetic and safety reasons. Installing post cap lights might require some woodwork. Finally, always ensure unused connectors are adequately covered to protect against environmental elements.
FREQUENTLY ASKED QUESTIONS (FAQS)
Author

INFO-Leonlite
Tags
Outdoor Lighting
Deck Lights
landscape lights
Patio lights


