How To Choose And Install The Best Low Voltage Transformers For Your Landscape Lighting: A Comprehensive Guide
In the realm of landscape lighting, the magic often lies in the subtle glow of low voltage illumination, a choice that marries aesthetics with efficiency. Low voltage transformers are the unsung heroes in this setup, acting as the crucial bridge between your home's standard voltage and the gentle luminescence that dances across your garden paths and highlights your home's architecture. Understanding the role of these transformers is the first step in creating an outdoor space that is not only beautifully lit but also electrically sound and energy-efficient.The journey of a low voltage transformer begins with its fundamental purpose: to step down the typical 120-volt current running through North American homes to a much safer 12-volt output suitable for outdoor lighting. This not only ensures the longevity of your landscape lighting fixtures but also significantly reduces the risk of electrical hazards in outdoor environments where moisture is a constant factor.As we delve deeper into the world of low voltage transformers, we'll explore how to select the right one for your landscape lighting needs, the importance of cable gauge in your setup, and the best practices for installing and maintaining your lighting system. With the right knowledge, you can transform your outdoor space into a sanctuary of light and shadow, all while ensuring that every beam and bulb is powered in the most efficient way possible.
* Prices seem high? Could be multi-unit packs. Check your cart for details.
Table Of Content
- Selecting The Right Low Voltage Transformer For Your Landscape Lighting
- Understanding Cable Gauge And Installation Nuances In Landscape Lighting
- Maintenance And Troubleshooting Of Low Voltage Landscape Lighting Systems
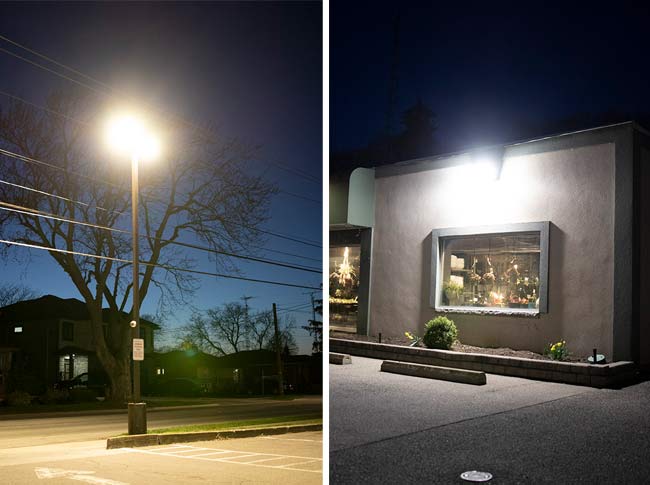
Selecting The Right Low Voltage Transformer For Your Landscape Lighting
Choosing the appropriate low voltage transformer is a critical decision in the landscape lighting process, akin to selecting the heart that will pump life into your outdoor space. The key to this choice lies in understanding the total wattage of your lighting system, which dictates the capacity of the transformer required. To ensure a harmonious operation, one must consider the sum of the wattage used by all the light fixtures, adding a buffer—typically 25% more capacity to accommodate for potential expansions or power surges.When it comes to LED lights, which are lauded for their energy efficiency and longevity, the need for a transformer is unequivocal. LEDs operate at a lower wattage, and thus, a transformer not only adapts the voltage to an appropriate level but also ensures the longevity of these fixtures. The process of determining the right transformer involves simple math: multiply the wattage of each light by the number of lights in the system, then add the extra buffer to calculate the minimum transformer size needed.The choice between magnetic and electronic transformers is another consideration. While both serve the same purpose, electronic transformers are known for their compact size, making them suitable for smaller spaces. However, the robustness of magnetic transformers often makes them a preferred choice for outdoor environments.In addition to technical specifications, the physical placement of the transformer also plays a pivotal role in the efficiency and safety of your lighting system. Ideally, it should be installed close to the lighting fixtures to minimize voltage drop and should be mounted at least 12 inches above the ground to protect against water damage. It's also crucial to ensure that the transformer is connected to a ground fault circuit interrupter (GFCI) outlet for added safety.With these considerations in mind, the selection of a low voltage transformer becomes a more informed and precise process, leading to a more efficient and reliable landscape lighting system.

* Prices seem high? Could be multi-unit packs. Check your cart for details.
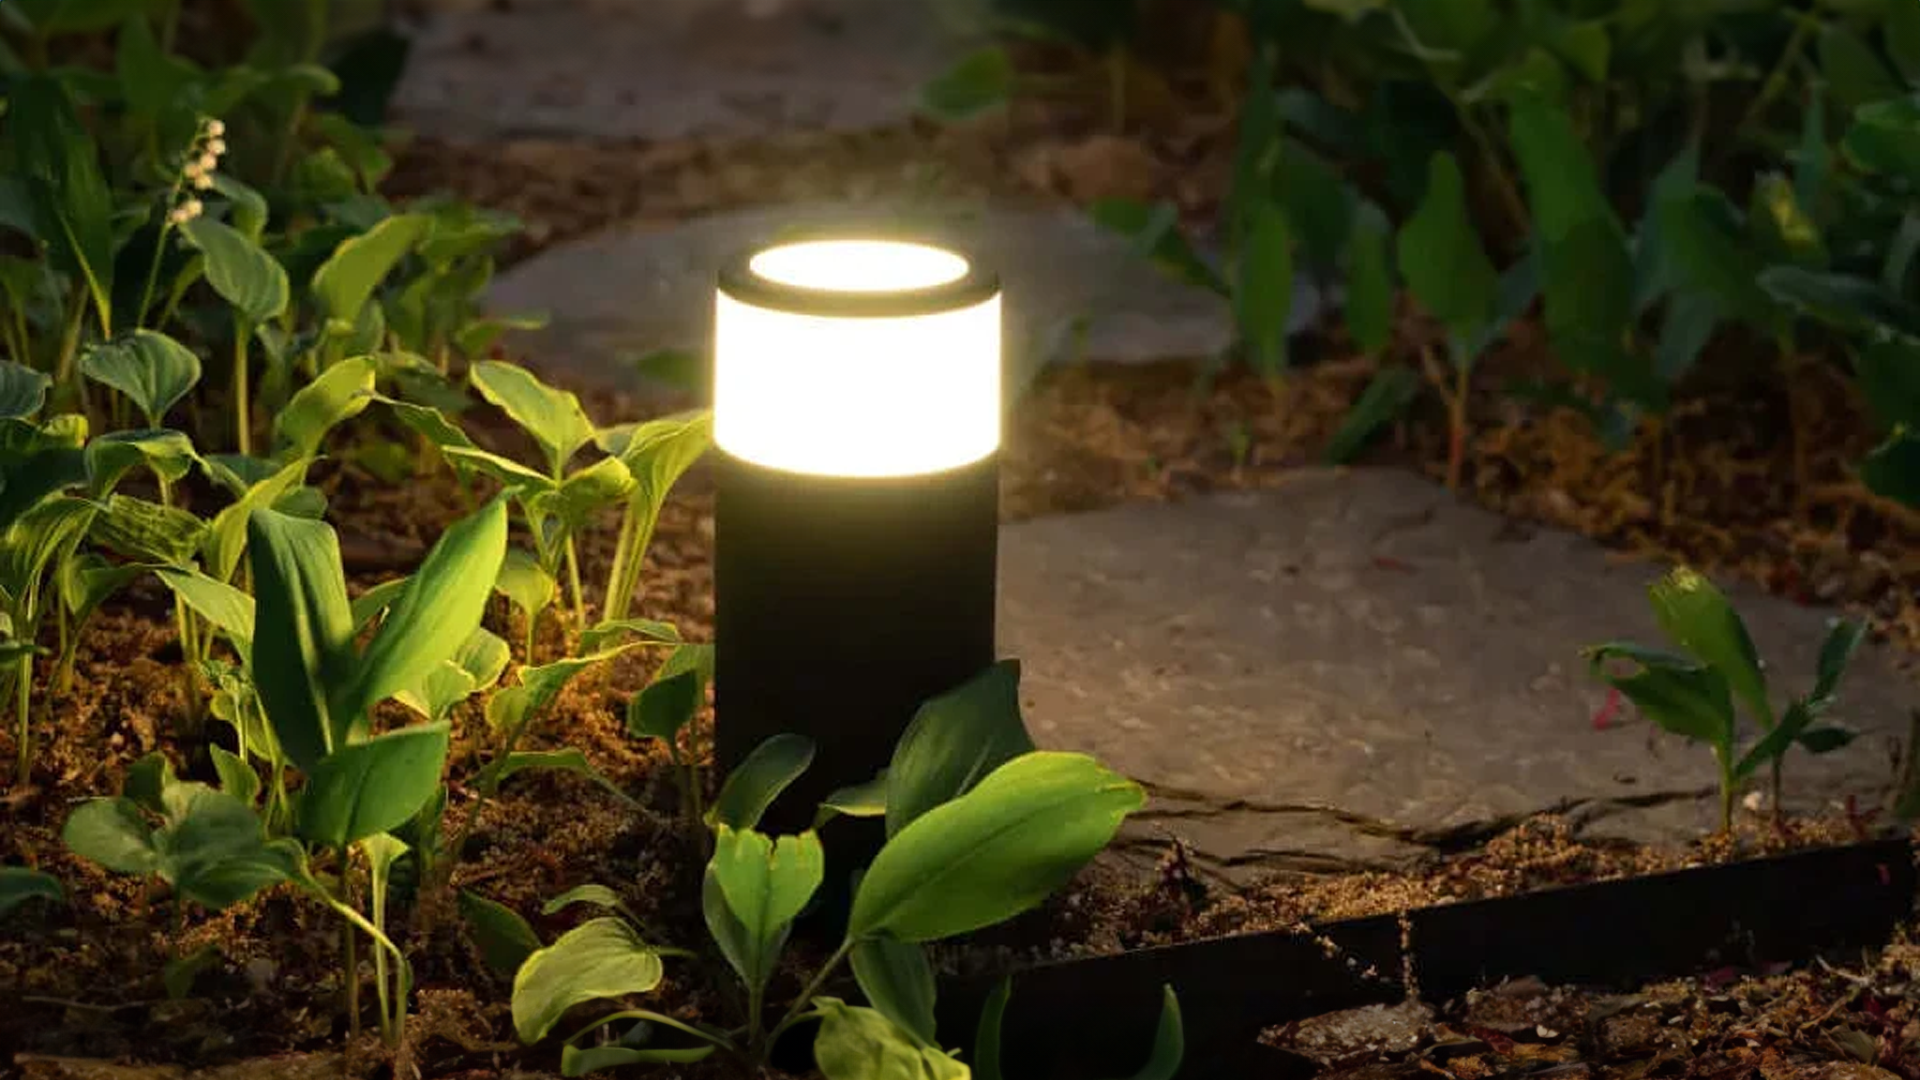
Understanding Cable Gauge And Installation Nuances In Landscape Lighting
The intricacy of installing a landscape lighting system extends beyond the selection of transformers and fixtures; it also encompasses the choice of cable gauge and the installation process itself. The cable gauge, or thickness, is pivotal in ensuring that the electricity is conducted efficiently and safely to your outdoor lighting fixtures. A cable that is too thin for the distance and wattage it carries can result in voltage drop, which leads to dim lights and potential system failure. Conversely, a cable that is too thick may be unnecessarily expensive and difficult to work with. The key is to find the balance that aligns with the electrical requirements of your lighting system and the layout of your landscape.Installation is another layer of complexity. While some homeowners may be tempted by the allure of DIY projects, the installation of a low voltage lighting system is a task where professional expertise is invaluable. A qualified electrician can ensure that the system is installed correctly, with the transformer properly placed and the cables meticulously laid out to prevent potential electrical hazards and ensure optimal lighting performance. They can also provide insights into the best practices for transformer maintenance, ensuring that your system remains efficient and effective over time.Moreover, the installation process should consider the aesthetic and functional aspects of landscape lighting. The transformer should be discreetly placed to maintain the visual appeal of your outdoor space, and the cables should be buried at an appropriate depth to protect them from damage while also keeping them out of sight.Navigating the technicalities of cable gauge and the nuances of installation may seem daunting, but they are essential for a landscape lighting system that is both beautiful and functional. With careful planning and professional assistance, you can ensure that your outdoor lighting is a testament to both beauty and technical precision.

Maintenance And Troubleshooting Of Low Voltage Landscape Lighting Systems
The final, yet ongoing chapter in the narrative of low voltage landscape lighting is maintenance and troubleshooting. A well-maintained system not only ensures consistent performance but also prolongs the life of your lighting investment. Regular checks for exposed wires, corroded connectors, or malfunctioning fixtures can save you from larger, more costly issues down the line. It's also important to clean the light fixtures and lenses periodically to prevent dirt and debris from diminishing their brightness.Troubleshooting is an inevitable part of any electrical system's lifecycle. When lights begin to flicker or fail to illuminate, the issue may stem from various sources such as bulb failure, wiring issues, or transformer problems. A systematic approach to troubleshooting involves checking the simplest potential problems first, such as ensuring that the transformer is plugged in and the timer or photocell is functioning correctly. If the issue persists, inspecting the cables for damage and the connections for proper contact may be necessary. In some cases, resetting or replacing the transformer may resolve the issue.For more complex problems, or if you're not comfortable handling electrical components, enlisting the help of a professional is the safest course of action. A qualified electrician can diagnose and fix issues more efficiently and ensure that your system adheres to the relevant safety standards.


* Prices seem high? Could be multi-unit packs. Check your cart for details.
Conclusion
In conclusion, the allure of a beautifully lit landscape is undeniable, and the role of a low voltage transformer in achieving this cannot be overstated. From selection to installation, and through to maintenance and troubleshooting, each step is critical in ensuring that your outdoor space is not only illuminated but also safe and energy-efficient. With the right approach and attention to detail, your landscape lighting can enhance the beauty of your outdoor space for years to come. This concludes our comprehensive guide on low voltage transformers for landscape lighting. Whether you're embarking on a new lighting project or looking to upgrade an existing system, the insights provided here will help you navigate the process with confidence and ease.

FREQUENTLY ASKED QUESTIONS (FAQS)
Author

INFO-Leonlite
Tags
Low Voltage Transformers
Landscape Lighting
Selecting The Right Transformer
Cable Gauge and Installation Nuances
Maintenance and Troubleshooting
Efficiency and Safety